Getting Started
Let's get ready to ship a Go application that is preconfigured with everything you need to make money online.
There is a makefile added for your convenience in the project repo. However, you do not have to use it and the instructions below assume you don't.
Generate your project
We're going to use a tool called Cookiecutter to template your application. Firstly, install cookiecutter with the following command:
- Mac
- Linux
- Windows
brew install cookiecutter
xbps-install cookiecutter
pipx install cookiecutter
When you signed up for Ship by byteSizeGo, you should have been invited to a gitHub repo here Make sure you can access it, and run the following command
- Https
- SSH
cookiecutter https://github.com/bytesizego-com/goship
cookiecutter git@github.com:bytesizego-com/goship.git
You'll be prompted to fill in some prompts, as well as give some information about whether you intend to use Stripe for your project and if you want a blog. If you're not sure, suggest yes for now as you can always delete it later.
Running your project.
cd into the directory you just created. It will have the same name as the app.
We recommend using air to allow for hot reloads as you develop your next million-dollar idea. To install it, you can run the following command:
go install github.com/cosmtrek/air@latest
once done, you can simply run air in the project root. If it has worked, you should see a logline such as:
{"time":"2024-11-24T17:54:14.046166Z","level":"INFO","msg":"server listening...","port":8080}
In your browser, head over to http://localhost:8080, and you should see the following screen:
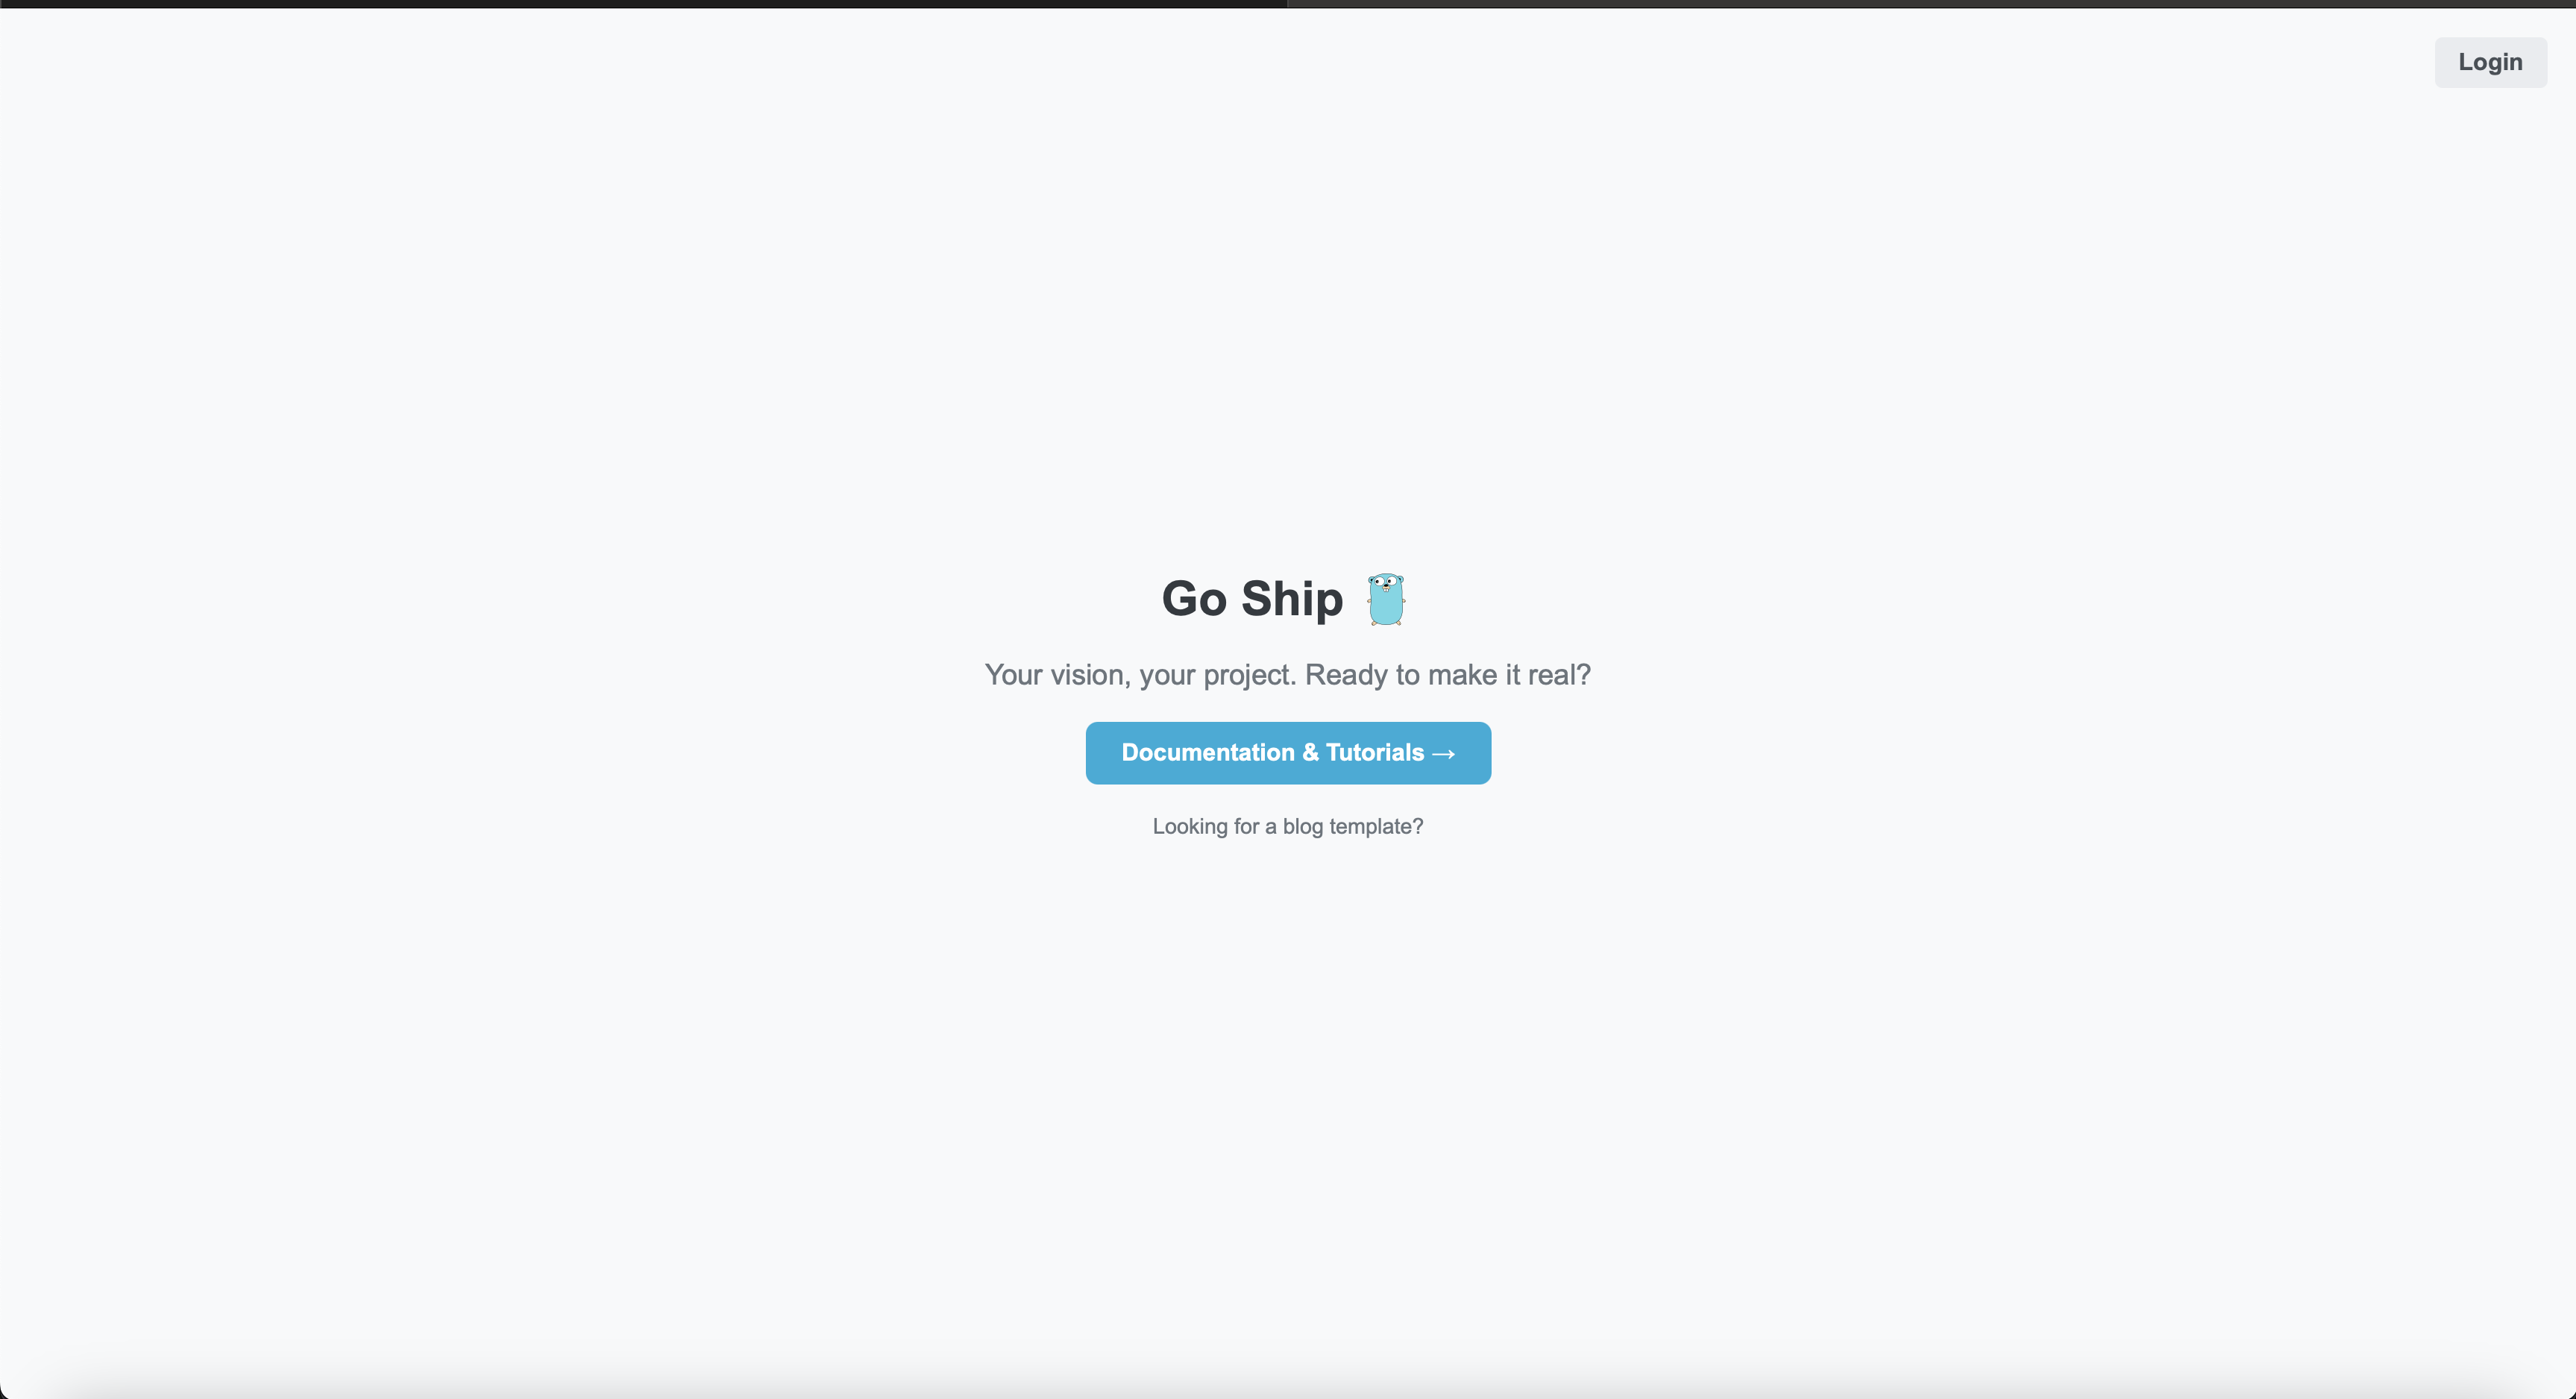
You're ready to start developing! Head over to the next section to learn about the next steps.